
This post contains affiliate links. As an Amazon Associate, I earn from qualifying purchases. This comes at no extra cost to you.
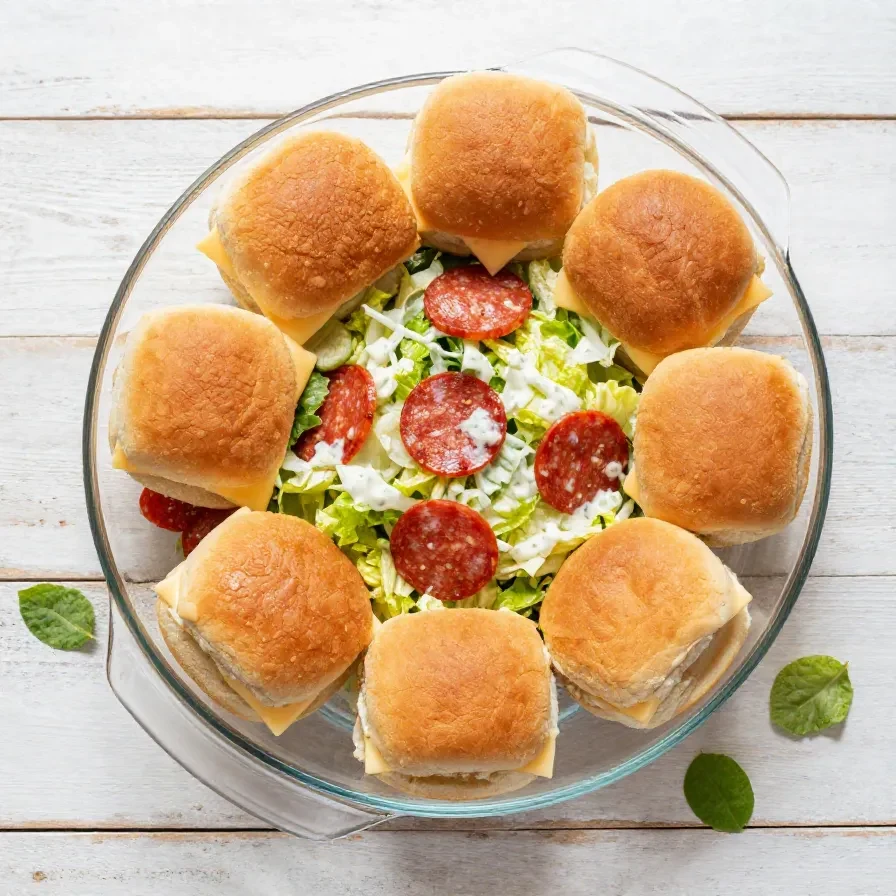
Easy 4th of july sliders are Italian Grinder Sliders made with split slider buns, mayonnaise, red wine vinegar, Italian seasoning, ham, salami, provolone, lettuce, tomato, red onion, banana peppers, and a buttery Parmesan topping, then baked at 350°F for 12 to 15 minutes. This recipe makes 12 sliders and takes about 30 minutes total. I tested a batch for a busy football party, and the trays disappeared fast because the sandwiches stayed neat, layered, and easy to serve.
I write simple, practical recipes as Anne Newgent, and I focus on recipes that use straightforward store-bought ingredients and clear timing. The result is a dependable party sandwich that fits game day, a quick family dinner, or easy ways to feed a crowd.
The buns turn golden on top, the cheese melts into the ham and salami, and the grinder spread adds a sharp, creamy bite. Banana peppers bring a little tang, while the lettuce, tomato, and onion keep Italian Grinder Sliders tasting fresh and layered.
When I made these for a casual weekend gathering, I liked that the filling held together well enough to slice and serve without a mess. The mix of warm bread and cool vegetables gives Italian Grinder Sliders a strong balance that works especially well for Great Snacks and Best Party Sandwiches.
Table of Contents
- Why do Easy 4th Of July Sliders work so well for parties?
- What ingredients do you need for Italian Grinder Sliders?
- How do you make Italian Grinder Sliders step by step?
- Frequently Asked Questions About Italian Grinder Sliders
- What mistakes should you avoid with this sandwich?
- How do you store and reheat Italian Grinder Sliders?
- What should you serve with Italian Grinder Sliders?
- What expert tips make Italian Grinder Sliders easier?
Why do Easy 4th Of July Sliders work so well for parties?
Easy 4th Of July Sliders work well because they combine bold deli layers, crisp vegetables, and a baked buttery top in one 12-sandwich tray. Italian Grinder Sliders give you a fast, low-effort party option that feeds a crowd, travels well, and still feels substantial enough for game day or a large lunch.
- They are quick to assemble. The prep time is 15 minutes, so I can get the tray ready before guests start arriving.
- They use simple store-bought ingredients. That keeps Italian Grinder Sliders budget-friendly and useful for easy party dish planning.
- They serve neatly in slider form. Each portion is small enough for football parties, potlucks, and room temp lunch ideas.
- They taste balanced after baking. The warm cheese and buttered tops contrast with the cool lettuce, tomato, and onion.
These mini Italian sliders also fit the Reddit-style crowd favorites people repeat for party food because they are filling without being fussy. I like that one baking dish gives me 12 servings, which helps when I need easy ways to feed a crowd without juggling multiple pans.
The sandwich layers make them practical for room temp lunch ideas too. The rolls hold the filling together, so Italian Grinder Sliders can move from oven to table with less mess than many stacked sandwiches.
What ingredients do you need for Italian Grinder Sliders?
Italian Grinder Sliders use 12 slider buns, a quick grinder spread, three deli fillings, crisp vegetables, and a butter-Parmesan topping. The ingredient list is simple, but each part has a job: the spread adds tang, the meats add protein, and the vegetables keep the sliders bright and layered.
- 12 slider buns or Hawaiian rolls, split
- 1/2 cup mayonnaise
- 2 tablespoons red wine vinegar
- 1 teaspoon Italian seasoning
- 1/2 teaspoon garlic powder
- 1/4 teaspoon salt
- 1/4 teaspoon black pepper
- 8 ounces sliced deli ham
- 8 ounces sliced salami
- 8 ounces sliced provolone cheese
- 1 cup shredded iceberg lettuce
- 1 medium tomato, thinly sliced
- 1/2 small red onion, thinly sliced
- 1/2 cup sliced banana peppers, drained
- 2 tablespoons melted butter
- 1 teaspoon grated Parmesan cheese
- 1/2 teaspoon garlic powder
- 1/2 teaspoon dried parsley
The mayonnaise and red wine vinegar are the two ingredients that define the grinder spread. Together, they create the tangy base that keeps Italian Grinder Sliders from tasting flat, and the provolone melts smoothly over the ham and salami.
I like using iceberg lettuce here because it stays crisp and gives a clean crunch after baking. The banana peppers also matter because their drained tang cuts through the rich cheese and meat without adding extra prep.
How do you make Italian Grinder Sliders step by step?
Italian Grinder Sliders come together by making a quick spread, layering the buns with ham, salami, and provolone, then finishing with vegetables and a seasoned butter topping. The whole process stays simple, and the oven handles the final melt and browning in 12 to 15 minutes.
Step 1 — Prep the pan and oven
Preheat the oven to 350°F (175°C). Lightly grease a baking dish or sheet pan large enough to hold the slider buns so the bottoms do not stick after baking.
Step 2 — Mix the grinder spread
In a small bowl, stir together the mayonnaise, red wine vinegar, Italian seasoning, garlic powder, salt, and black pepper. This makes a creamy, tangy spread that gives Italian Grinder Sliders their grinder-style flavor.
Step 3 — Arrange the bun bottoms
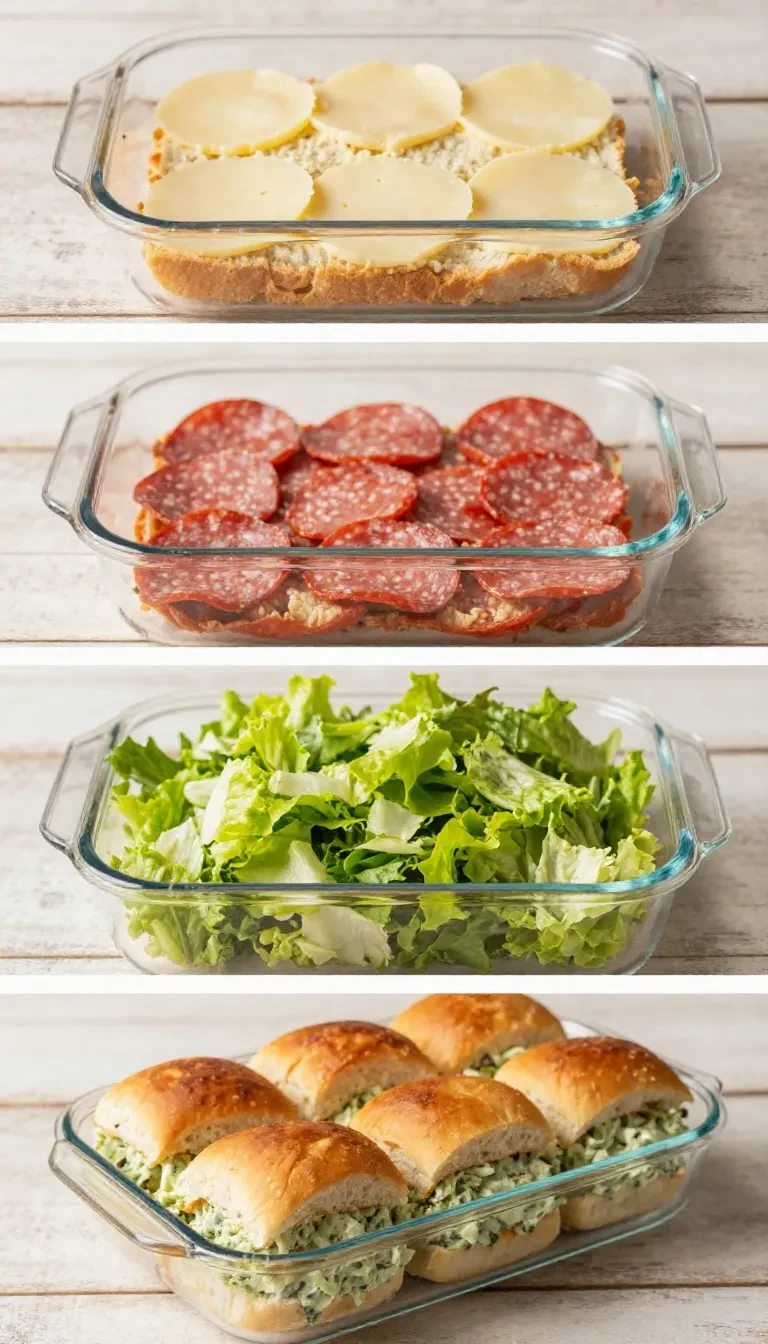
Without fully separating the buns, slice the slider rolls horizontally and place the bottoms in the prepared baking dish. Keeping the rolls attached helps the tray bake evenly and makes the sliders easier to serve later.
You might also enjoy our ham and cheese sliders.
Step 4 — Layer the meats and cheese
Spread the grinder sauce over the bottom halves of the buns. Layer on the ham, salami, and provolone cheese evenly over the rolls, making sure every slider gets a little of each filling.

Step 5 — Add the vegetables and tops
Top with the lettuce, tomato slices, red onion, and banana peppers. Place the bun tops over the filling so the sandwich stack stays compact before baking.


Step 6 — Brush on the butter topping
Mix the melted butter, Parmesan, garlic powder, and dried parsley in a small bowl, then brush the mixture over the tops of the sliders. I found this step helps the bread turn lightly golden while adding a little extra savory flavor.
Step 7 — Bake and serve warm
Bake for 12 to 15 minutes, until the cheese is melted and the tops are lightly golden. Serve warm, and if desired, add a little extra lettuce or banana peppers after baking for a fresher grinder-style finish.
Frequently Asked Questions About Italian Grinder Sliders
Can I assemble Italian Grinder Sliders ahead of time?
Yes, you can assemble Italian Grinder Sliders ahead of time and bake them later. I recommend keeping the vegetables on top and brushing the butter mixture just before baking so the buns stay from getting soggy.
What makes the grinder spread important?
The grinder spread is important because it adds tang and seasoning in one step. The mayonnaise, red wine vinegar, Italian seasoning, garlic powder, salt, and black pepper give Italian Grinder Sliders their signature deli-style flavor.
Can I serve these at room temperature?
Yes, they work well as room temp lunch ideas for short periods after baking. The layered structure holds up well, but the cheese tastes best when the sliders are served warm.
For more ideas, check out our dipped italian deviled eggs.
How do I keep the sliders from falling apart?
Keep the buns attached when slicing, layer the fillings evenly, and bake the tray in a snug dish. Those three steps help Italian Grinder Sliders stay neat from the pan to the plate.
Do these work for game day food?
Yes, they are excellent for football parties because they are easy to portion and simple to carry. I have served them as one of my easy party dish options, and the 12-slider tray makes planning straightforward.
What mistakes should you avoid with this sandwich?
Italian Grinder Sliders stay better when you avoid overfilling the buns. Too much tomato or too much spread can make the bread soft before baking, so a measured layer works best for clean serving.
Do not skip draining the banana peppers. Extra liquid can weaken the bottom buns, especially if you are making these as an easy 4th of july sliders tray for a party and need them to travel well.
Do not leave the butter topping out. The melted butter, Parmesan, garlic powder, and dried parsley help the tops bake to a light golden color, which gives the sliders a finished look and better texture.
How do you store and reheat Italian Grinder Sliders?
Italian Grinder Sliders store best in the refrigerator in an airtight container for up to 3 days. If you want a make-ahead party option, you can prep the spread and slice the fillings the night before, then assemble and bake closer to serving time.
For reheating, place the sliders in a 350°F oven until warmed through and the cheese softens again. That method helps the bread stay firmer than microwave heating, which can make the buns soft faster.
Looking for something similar? Try our italian ricotta cookies.
I would not freeze the fully assembled sliders if you want the lettuce and tomato to stay crisp. The sandwich works best fresh, especially when you want the cool vegetables to contrast with the warm filling.
What should you serve with Italian Grinder Sliders?
Italian Grinder Sliders pair well with simple sides that do not compete with the salty deli filling. I like keeping the rest of the spread low-effort so the sliders remain the main item on the table.
For a football party, serve them with crunchy chips or a simple vegetable tray if you want easy ways to feed a crowd. Those sides add texture without requiring much extra prep, which keeps the whole menu manageable.
For large lunch ideas, pair the sliders with fruit or a light salad so the plate feels balanced. That approach also works well for potlucks when you need a tray that is easy to carry and easy to portion.
If you are setting out Great Snacks for a casual gathering, keep the sliders on a warm platter and offer extra banana peppers on the side. That gives guests a simple way to adjust the tang level without changing the recipe.
What expert tips make Italian Grinder Sliders easier?
Italian Grinder Sliders are easiest when you keep the tray compact and work in layers. I measured the filling while testing this recipe, and the most useful shortcut was to build the sandwich in the baking dish instead of assembling each slider separately.
Use split buns without fully separating them. That makes the tray faster to prep and helps the sandwiches stay aligned, which matters when you are serving mini Italian sliders to a group.
Brush the butter mixture all the way to the edges of the tops. Even coverage helps the bread brown evenly, and the Parmesan and parsley add a finished look with almost no extra work.
If you want the freshest bite, add a little more lettuce or banana peppers after baking. I used that approach for a family-style tray, and the extra crunch made the warm filling feel lighter without changing the recipe.
Italian Grinder Sliders
Ingredients
Equipment
Method
- Preheat the oven to 350°F (175°C). Lightly grease a baking dish or sheet pan large enough to hold the slider buns.
- In a small bowl, stir together the mayonnaise, red wine vinegar, Italian seasoning, garlic powder, salt, and black pepper to make the grinder spread.
- Without fully separating the buns, slice the slider rolls horizontally and place the bottoms in the prepared baking dish.
- Spread the grinder sauce over the bottom halves of the buns. Layer on the ham, salami, and provolone cheese evenly over the rolls.
- Top with the lettuce, tomato slices, red onion, and banana peppers. Place the bun tops over the filling.
- Mix the melted butter, Parmesan, garlic powder, and dried parsley in a small bowl, then brush the mixture over the tops of the sliders.
- Bake for 12 to 15 minutes, until the cheese is melted and the tops are lightly golden. Serve warm.
- If desired, add a little extra lettuce or banana peppers after baking for a fresher grinder-style finish.
Notes
Loved this recipe? Save it to your favorite Pinterest board so you can easily find it later! ✨